विशेष लेख
How to Draw a Cat
Today we’ll create a charming cat illustration, perfect for kids or beginner artists who love animals. This guide will walk you through each stage of drawing a simple, yet cute cat, highlighting features like its delicate whiskers and expressive, flicking tail.
Ava Brooks
लेखक
लेख परिचय
नीचे पूरा लेख पढ़ें।
अनुभाग
समाचार
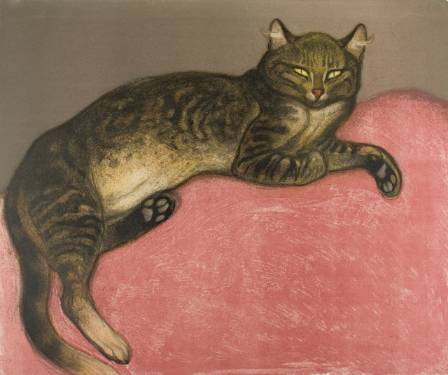
Today we’ll create a charming cat illustration, perfect for kids or beginner artists who love animals. This guide will walk you through each stage of drawing a simple, yet cute cat, highlighting features like its delicate whiskers and expressive, flicking tail.
We’ll use a method based on overlapping shapes to map out the cat’s body and pose. This approach helps you understand basic animal anatomy and proportion, making your drawing appear lively and natural. Start with a hard pencil to sketch the rough shapes, then switch to a softer pencil to refine your lines. Finally, bring your cat to life with colored pencils.
Step-by-Step Cat Drawing
Step 1: Draw the Head
Start by sketching a large circle slightly above the center of your paper to represent the cat’s head. This will serve as the foundation for the face and ears.
Tip: Keep your lines light so you can adjust them as needed.
Step 2: Sketch the Torso
Draw an oval underneath and slightly overlapping the head circle. This oval will represent the cat’s body and help define its posture. Overlapping the shapes naturally connects the neck and shoulders, giving your cat a realistic structure.
Step 3: Add Legs and Tail
Draw two straight lines extending down from the torso for the legs, ending each line with a small oval for the paws. Then, add a long curved line from the back to form the tail. The tail should curve naturally, complementing the cat’s pose.
Step 4: Outline Head and Ears
Using a soft pencil, trace over the head and torso to define the shapes. Draw two triangles on top of the head for ears, making them symmetrical and proportional. This step adds clarity and structure to your sketch.
Step 5: Refine Legs and Tail
Add gentle curves to the legs to suggest muscle tone, and round off the paws. Smooth lines will emphasize the cat’s graceful and agile nature.
Step 6: Draw the Face
Sketch almond-shaped eyes, a small triangle for the nose, and a line for the mouth. Draw whiskers extending outward from the cheeks. Make sure the eyes are even and the nose is centered. Leave tiny highlights in the eyes to give them sparkle.
Step 7: Remove Guide Lines
Erase the preliminary shapes and sketch lines carefully, leaving only the refined outline. This ensures a clean and polished drawing.
Step 8: Color Your Cat
Fill the body with a gray pencil, adding orange or brown patches if you want a tabby look. Color the eyes green to make them vivid, adjusting pressure for shading and highlights. Keep the nose and inner ears light or pink to mimic a natural tint.
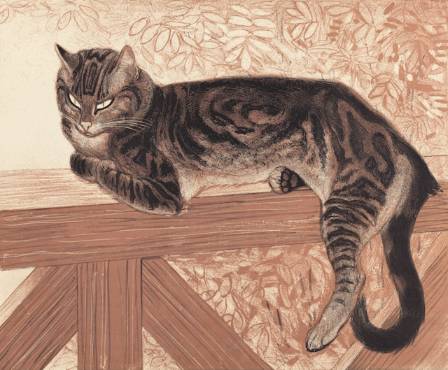
Optional Details to Enhance Your Drawing
Add a soft shadow beneath the cat to ground it.
Draw a collar or name tag for personality.
Include a background such as a garden, room, or sunny spot.
Add fur patterns like stripes or spots for realism.
Tips for a More Realistic Cat Drawing
Three small details can make your cat look authentic: the ears, eyes, and whiskers.
Ears: Tall, triangular, and placed wide apart on the head. Include a small inner triangle for the inner ear and optional tufts of fur.
Eyes: Almond-shaped, slightly tilted upward at the corners. The iris is a colorful oval, and the pupil is a vertical slit when alert. Add a small white highlight for life.
Whiskers: Draw 6–8 long, slightly curved whiskers on each side of the snout, plus smaller ones above the eyes. Straight or missing whiskers make the cat look incomplete.
Body: Built from simple shapes: round head, slightly elongated torso, tapering legs, small paws, and a flexible tail nearly as long as the body.
Following these steps, you’ll create a playful, expressive cat that’s full of character.
यह भी पढ़ें

Matcha Swiss Roll Cake
Chloe Mitchell

The 7 Essential Ocean Facts Everyone Ought to Understand
Hudson

कुशल विश्व-निर्माण: एक घंटे से भी कम समय में कॉन्सेप्ट आर्ट तैयार करना
सीमा चौहान

Leveraging Seasonal Fruits for Optimal Anti-Inflammatory Defenses
Isaiah Ward

6 शहर जो सबसे अनूठी वास्तुकला के साथ हैं और वास्तव में अलग खड़े हैं
सिमरन

The World’s Largest Football Stadiums by Seating Capacity
Gavin Holloway