Essential Preparation and Core Principles
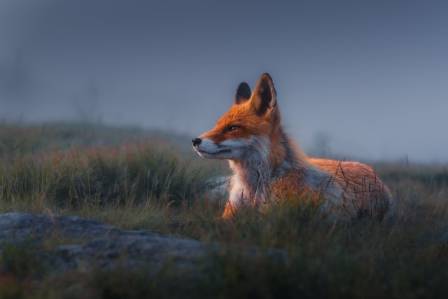
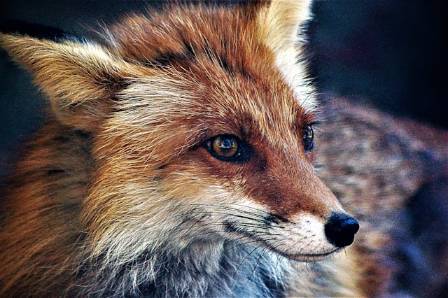
Foxes possess distinctive features: a broad head with a pointed muzzle and uniquely shaped ears. Before applying paint, ensure your sketch correctly captures these proportions. When viewed from the front, the head fits roughly into a square, with the eyes positioned at the midpoint. Begin by blocking in basic shapes using darker colors. Key pigments for a fox's rich fur include Burnt Umber, Burnt Sienna, Payne's Grey, and White. Select a complementary background to enhance your subject. To achieve realistic fur texture, blend strokes into the background for depth, allow small gaps between hair strands to let darker underlayers show through, and vary your stroke direction and length.
Establishing the Foundation: Sketch and Base Layers
Many paintings benefit from starting with a quick-drying acrylic base layer to block in shapes and colors. Begin with a rough sketch using a muted tone like Raw Umber. Do not hesitate to revise your initial composition; repainting foundational areas is often necessary for a superior final result. Once satisfied, block in the darkest areas with acrylics to establish a toned canvas, which prevents the bright white of the primer from showing through later.
Creating Atmosphere with the Background
The setting can add narrative depth. For a contemporary theme, such as wildlife in urban spaces, consider a dark cityscape with a soft "bokeh" effect, mimicking out-of-focus city lights. Block in the brightest light points with acrylics before switching to oils. Using a large brush, apply abstract blobs of color—blues, oranges, reds—over a dark base. Continuously blend with a soft brush to create a blurred, atmospheric backdrop, which you will refine in the final stages.
Building the Form: From Tail to Face
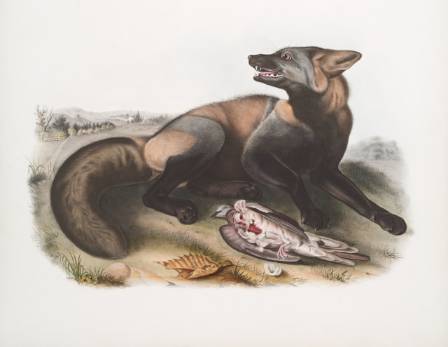
Adopt a dark-to-light layering approach. Start with the tail, using mixes of Payne's Grey, Burnt Umber, and Burnt Sienna to map out the darkest fur areas. Layer progressively lighter colors on top, using separate brushes for dark, mid, and light values to prevent muddying the colors. A fan brush can help blend fur softly. For the face, focus first on blocking in the fundamental shapes and shadows to establish three-dimensional form, saving intricate details for a subsequent layer after the paint has dried.
Detailing and Finalizing: Bringing the Fox to Life
Once the initial layers are dry, use a small, soft angled brush for detailed fur work. Again, work from dark to light, painting individual hairs and building up density. Employ a fine detail brush for critical features like the eyes and nose. To integrate the subject with its environment, add subtle hints of the background's colored light along the edges of the fox's fur. Finally, allow the painting to dry completely for several months before applying a protective glossy varnish to ensure the oil paint layers have fully cured and to prevent cracking.